


How Do You Replace an Object in a Photo Using AI?
Upload Your Photo
Choose an image from your device. Clear lighting and defined objects work best for a seamless blend of your new generative elements.
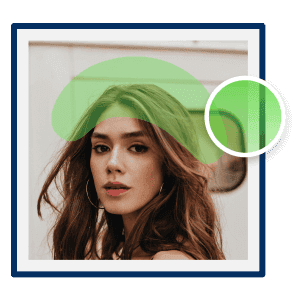
Brush Area or Object
Use the Brush to highlight the specific object or area you wish to transform.
Pro Tip: For the most realistic results, brush slightly outside the edges of the object to give the AI enough "context" to blend the new textures.
Enter a Text Prompt
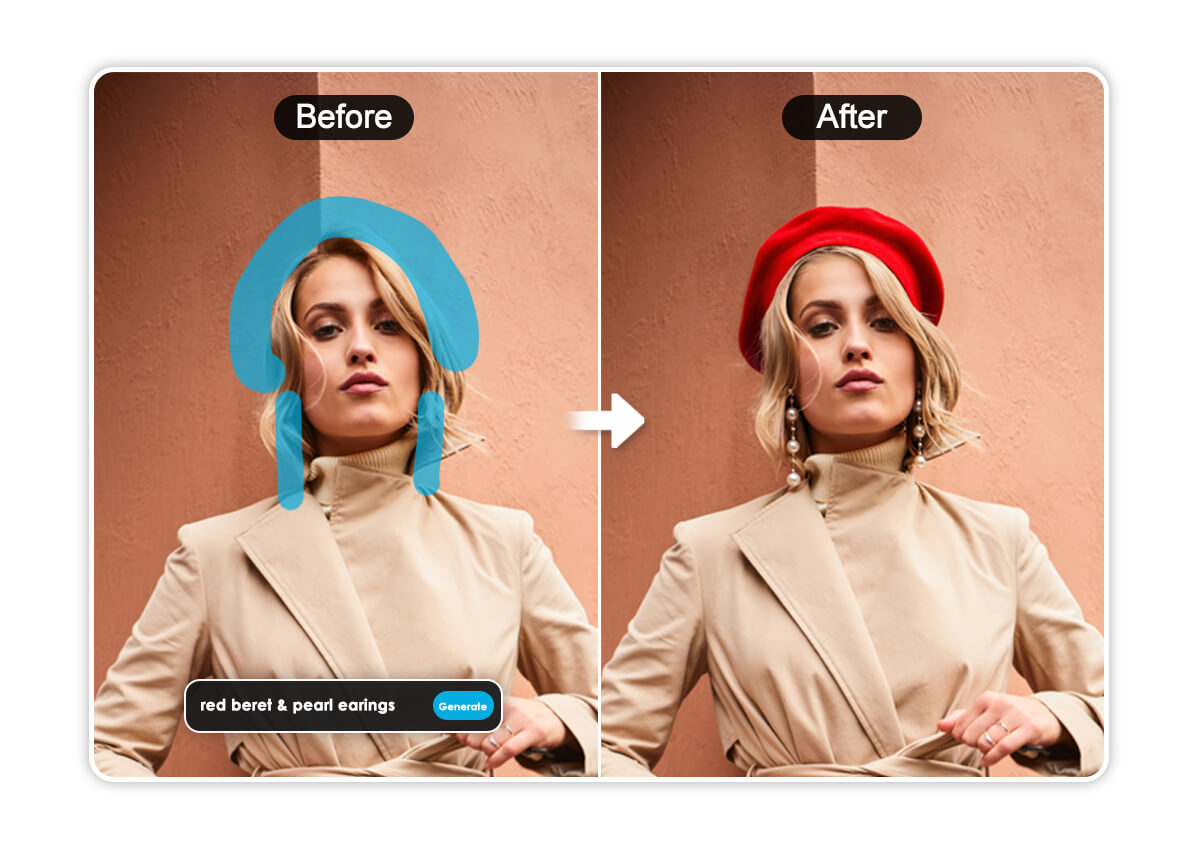
In the prompt box, describe exactly what you want to see.
Pro Tip: Make sure to be specific of what you want to replace. Write “Place a red flat cap beret on head” instead of “Add hat to photo”.
Click "Generate" to Start
Click "Generate," and watch as the AI replaces your selection with a brand-new, realistically rendered object.
Why Does AI Replace Match Lighting and Shadows Automatically?
Forget spending hours with complicated editing software. AI Replace analyzes the light source, shadow direction, and surface texture in your original photo before generating new content, so a replaced background or object looks like it was part of the original shot — not added after the fact.

Can You Add Objects That Weren't in the Original Photo?
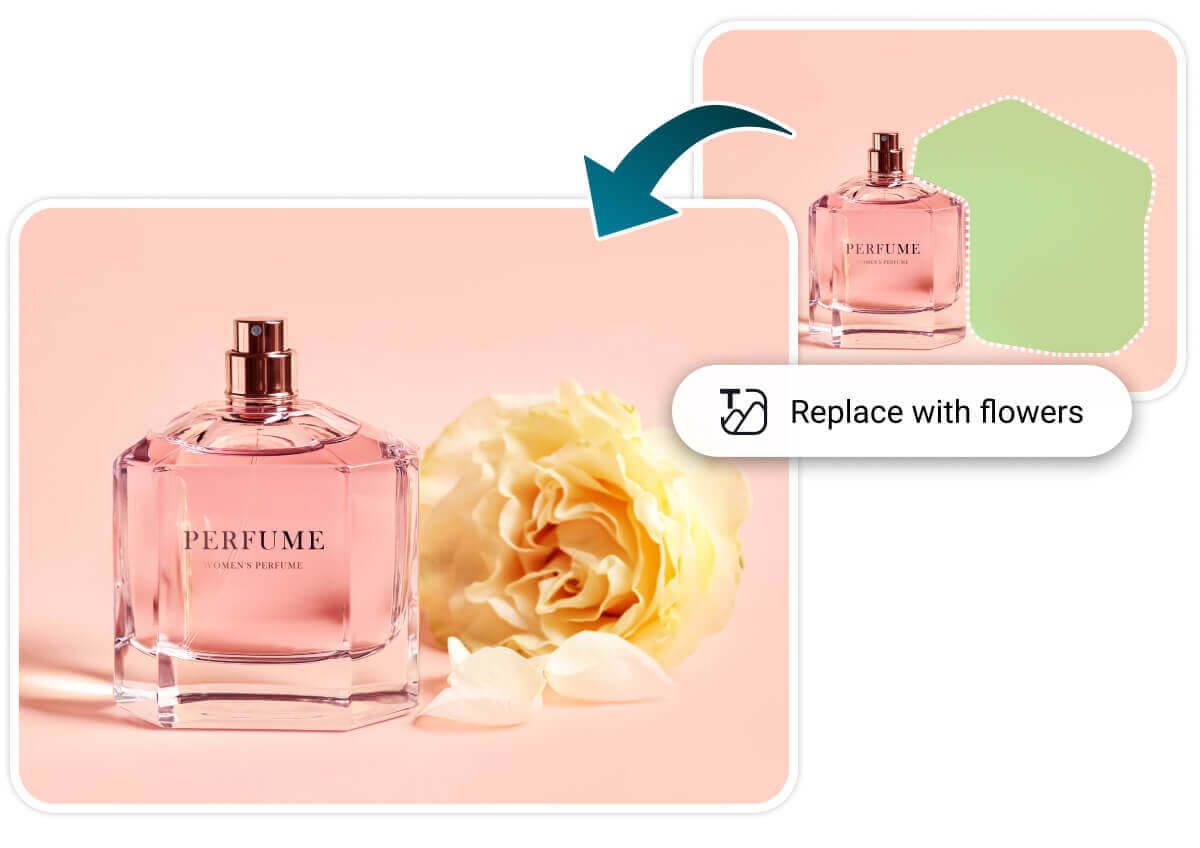
Use our intuitive generative fill to add objects that weren't there, change backgrounds, or experiment with entirely new styles. Whether you want to 'add a birthday cake' or 'insert a bouquet of roses,' the AI generates these elements from scratch. The tool automatically analyzes the surrounding scene, ensuring that any new additions match the original lighting and composition.

How Specific Should Your AI Replace Prompt Be?
Be specific and describe object, material, color, and style. Not just a single word. Highlight what you want to change, then prompt like you're describing it to a friend: 'red wool beret with a small bow' instead of just 'hat.'
Vague prompts leave too much open to interpretation, so the AI fills in the gaps with generic guesses. The more detail you give it, the more consistent and realistic your result.

How Are People Actually Using AI Replace?
"The best tool for funny edits."
My friends and I use this to make create the most unhinge photos. I once swapped my friend's birthday cake for a giant burger. The AI is so smart it even kept the candles in the right place. We couldn't stop laughing!
– Chris W., Content Creator
“So much easier than Photoshop.”
The generative inpainting is surprisingly smart. I can swap a boring background for a mountain range in seconds. The lighting and shadows match perfectly every time.
– Sarah L., Hobby Photographer
“Saved My Product Launch.”
I needed my product to look 'festive' for a holiday sale. I just used AI Replace to add a few seasonal props to my existing shots. Saved me a ton of money on a new photoshoot!
– Jordan M., Etsy Shop Owner
AI Generative Fill (also known as AI Replace) is a technology that allows you to select an area of a photo and transform it using text prompts. It uses advanced AI inpainting to analyze the surrounding pixels, lighting, and shadows, ensuring that the new object you generate blends perfectly with the original image.
Object removal erases something from your photo and fills the gap with background. AI Replace goes a step further — it generates entirely new content in that space based on your text prompt, whether that's a different outfit, a new background, or an object that wasn't there at all. Use removal when you just want something gone; use Replace when you want something new in its place.
The more specific your prompt, the more consistent your results. Structure it around four things: object, material, color, and style — for example, "black leather biker jacket, fitted, matte finish" beats a one-word prompt like "jacket" every time. Vague prompts leave too much open to interpretation, so the AI fills in gaps with generic guesses. If your first result isn't quite right, don't just tweak the brush — refine the prompt with more detail and regenerate.
This happens when your brush mask covers the object itself but misses its secondary effects, like a cast shadow or a reflection on a nearby surface. The AI can only match lighting within the area you've selected, so if a shadow falls outside your mask, it stays from the original photo and won't line up with the new object. Brush over the shadow or reflection area too, then regenerate for a cleaner blend.
Yes! This is different from a simple swap. Brush an empty area of your photo, describe what you want to see (like "a bunch of roses" or "a birthday cake"), and AI Replace generates it from scratch based on your prompt and the surrounding scene's lighting and perspective. It works best when the added object makes sense within the photo's context (same lighting direction, same general scale) so the result blends in rather than looking pasted on.
This usually comes down to two things: mask sizing and prompt specificity. If you brush too tightly around the object, the AI doesn't get enough surrounding context to blend the new content smoothly — always brush slightly outside the edges. Vague prompts also hurt quality; "hat" gives the AI little to work with, while "red wool beret with a small brim" gives it a clear target to generate toward. If results still look off, try regenerating — output quality can vary between attempts.

Replace Objects on Your Phone Directly
Download YouCam AI Pro Now!